1. PREP YOUR NAILS
-
Shape & Buff
File your nails to your desired shape (square, rounded, almond—whatever suits your style). Lightly buff each nail to remove any natural shine. -
Cuticle Care
Gently push back your cuticles with a cuticle pusher. This step helps your dip powder adhere properly and keeps the manicure looking neat. -
Clean & Dehydrate
Apply a Nail Prep solution (or cleanser) to remove any oils or residue. This ensures a smooth, long-lasting manicure.
Pro Tip: Taking the time to properly prep your nails now will help prevent lifting or chipping later on.
2. CREATE THE OMBRE BASE
-
Apply Base Coat
Paint a thin, even layer of Base Coat onto your entire nail, avoiding the cuticle area. -
First Layer of Color
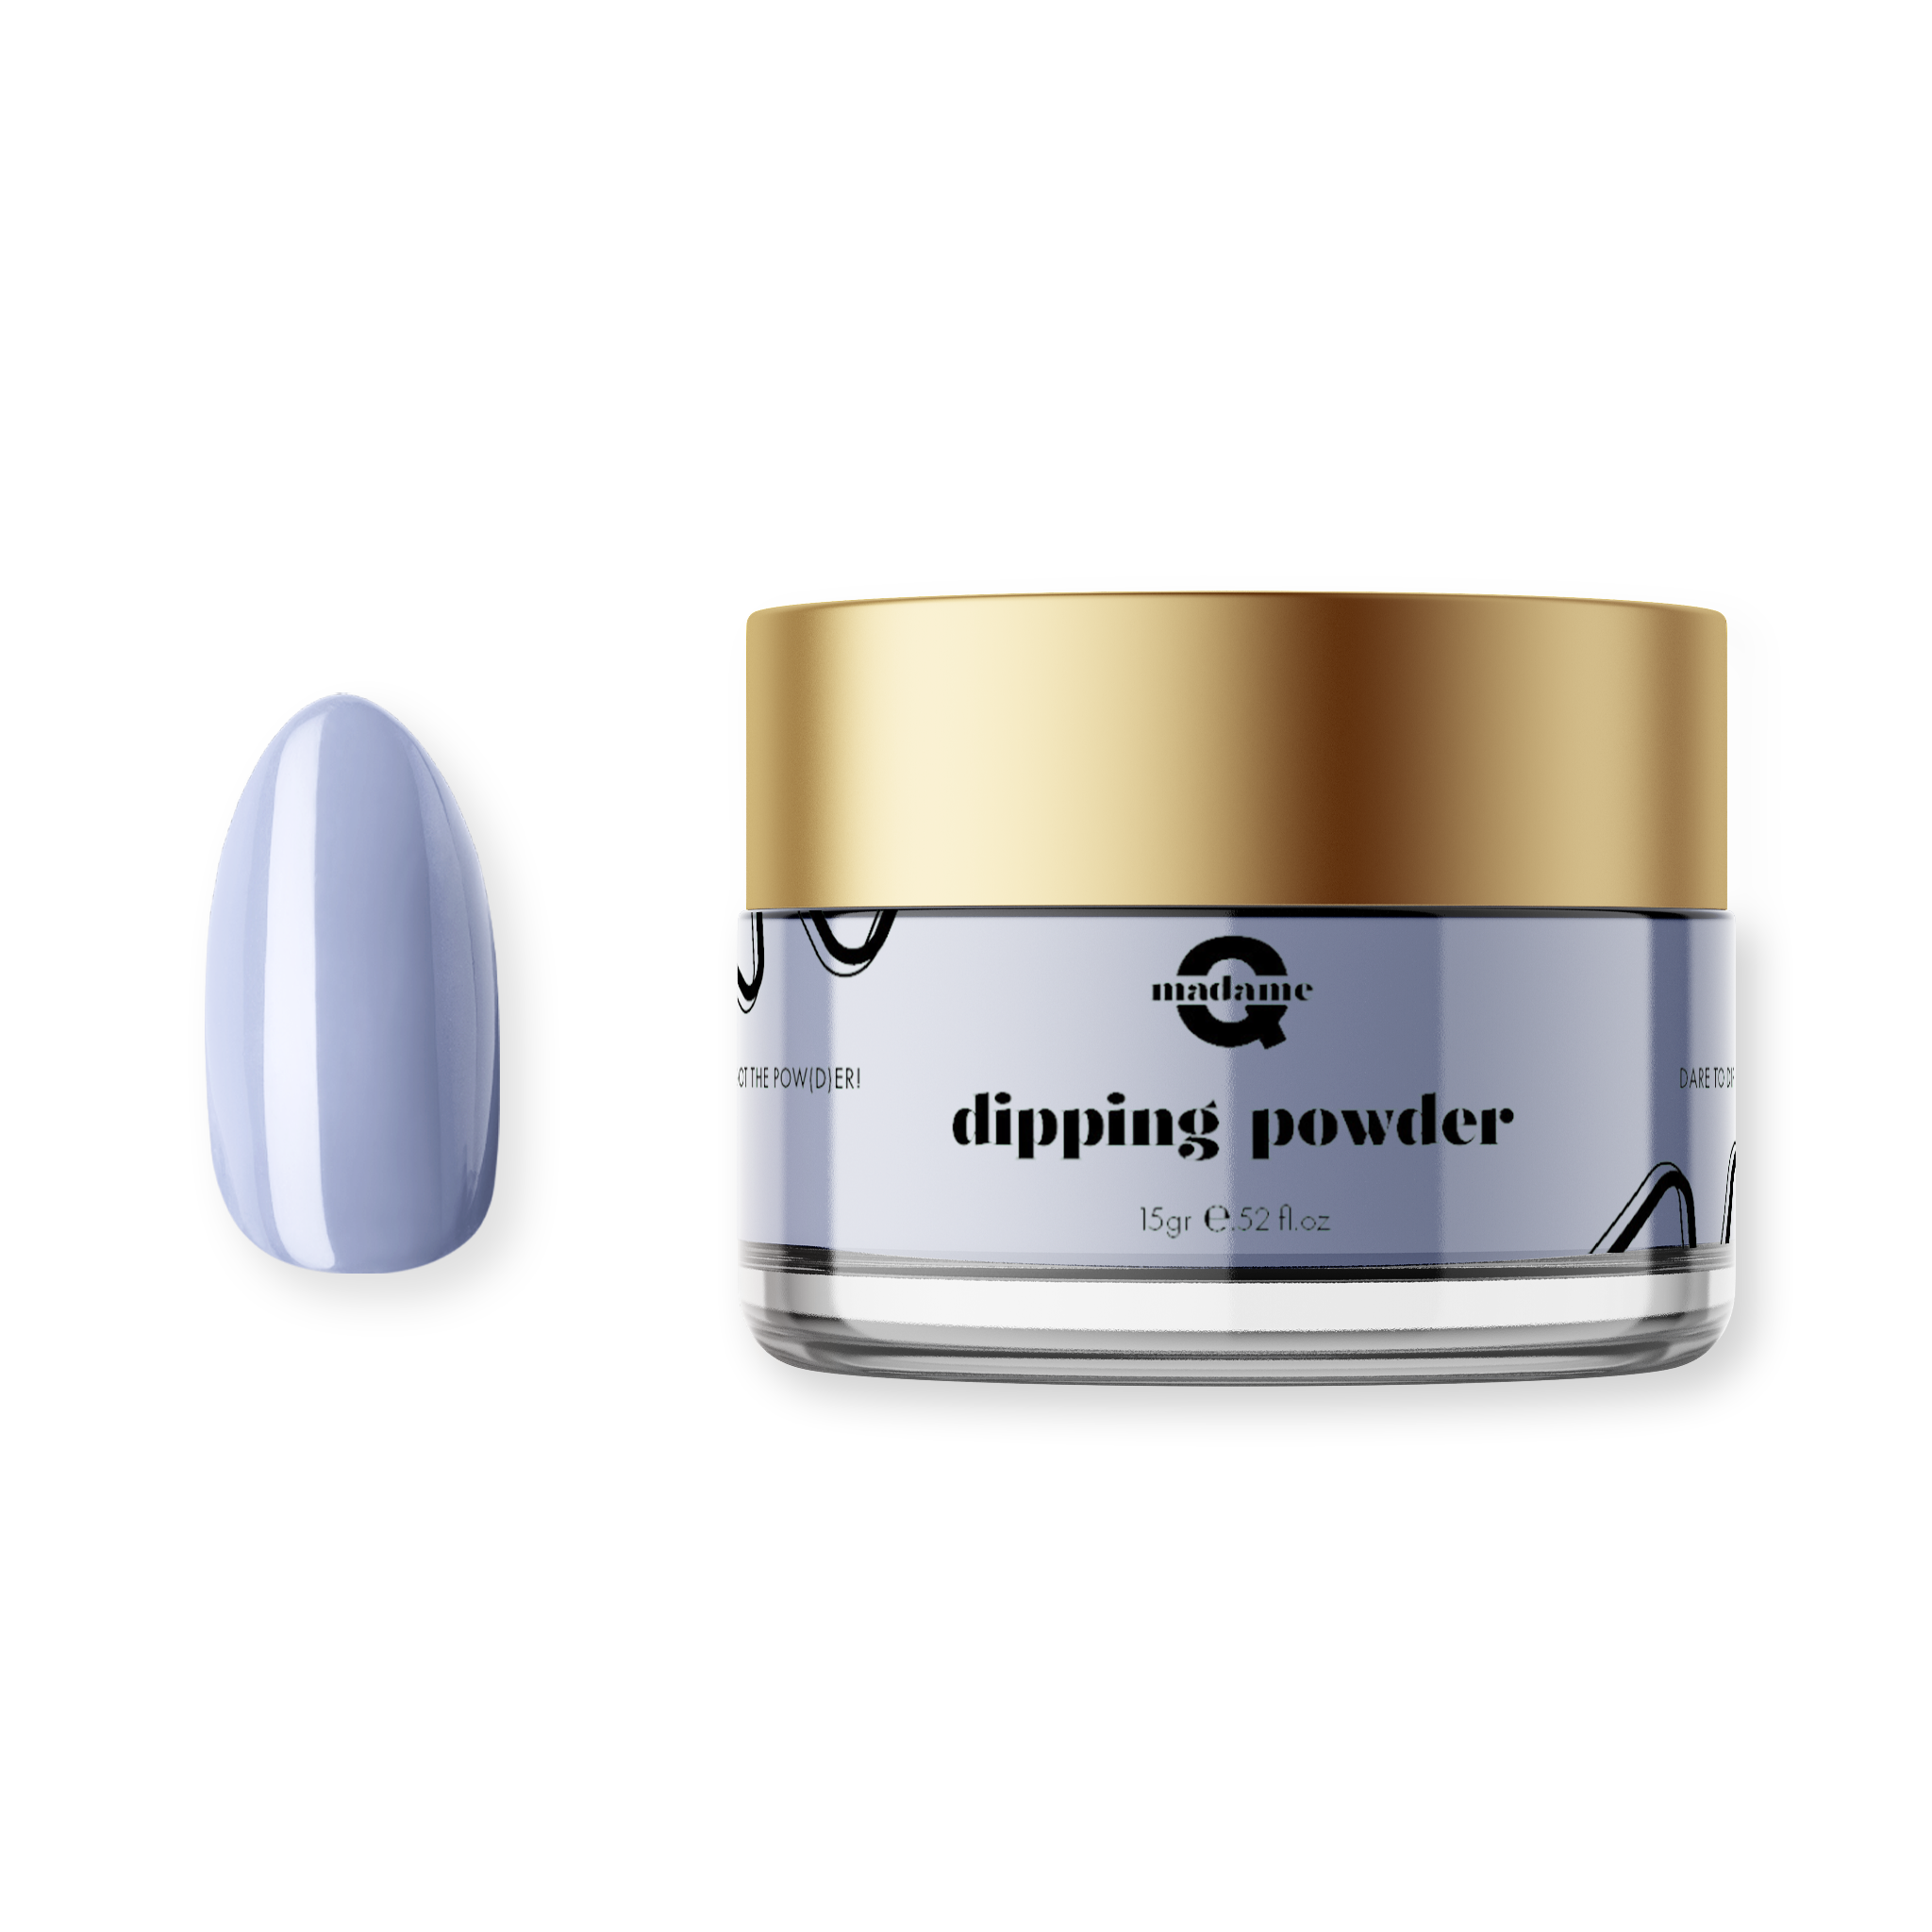
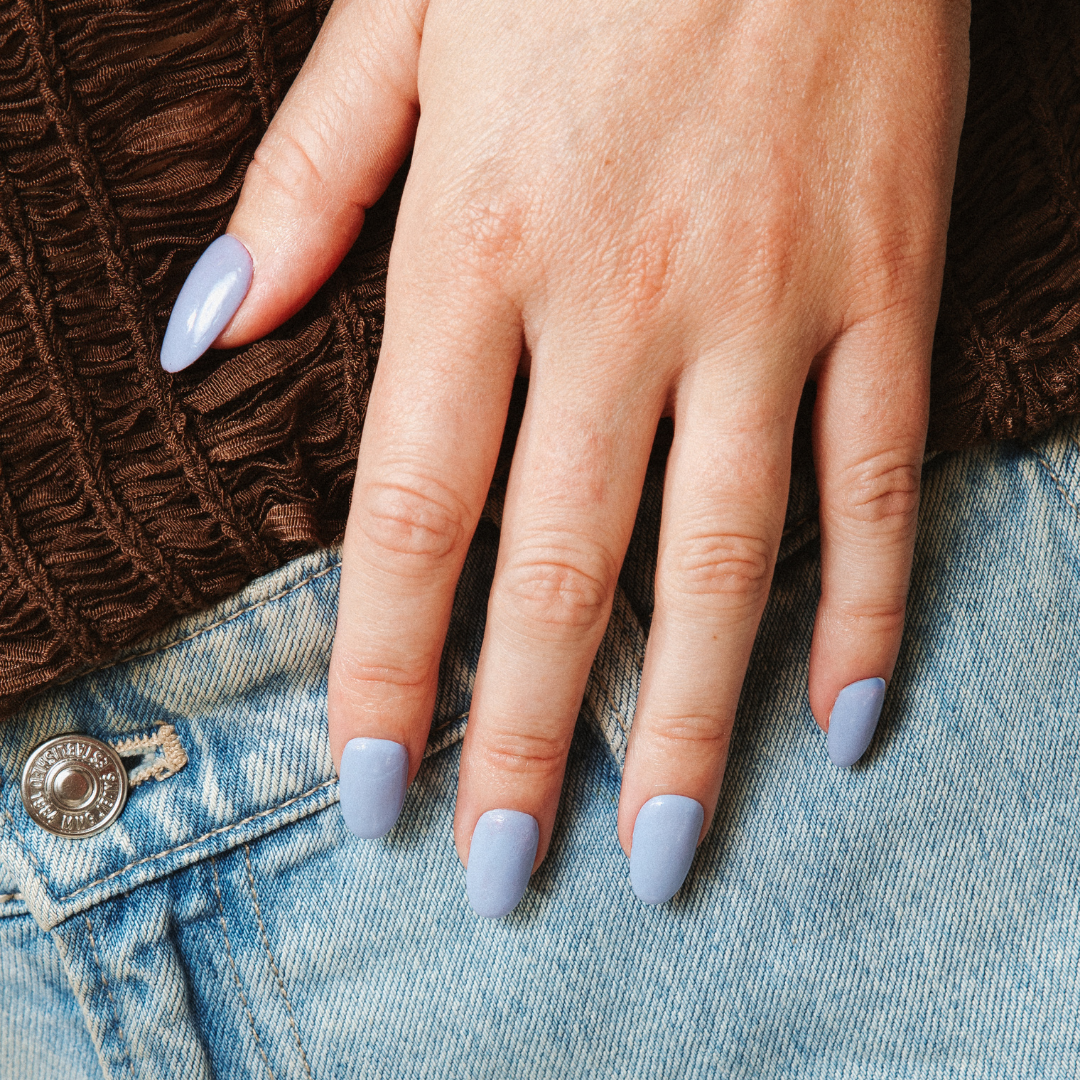
- Lavender Love Affair: Lightly sprinkle or dip your nail into Lavender Love Affair, covering the entire nail. Tap off the excess powder.
- Set & Dust Off: Wait 10-15 seconds, then gently brush away any remaining powder with a soft brush.
-
Starting the Gradient
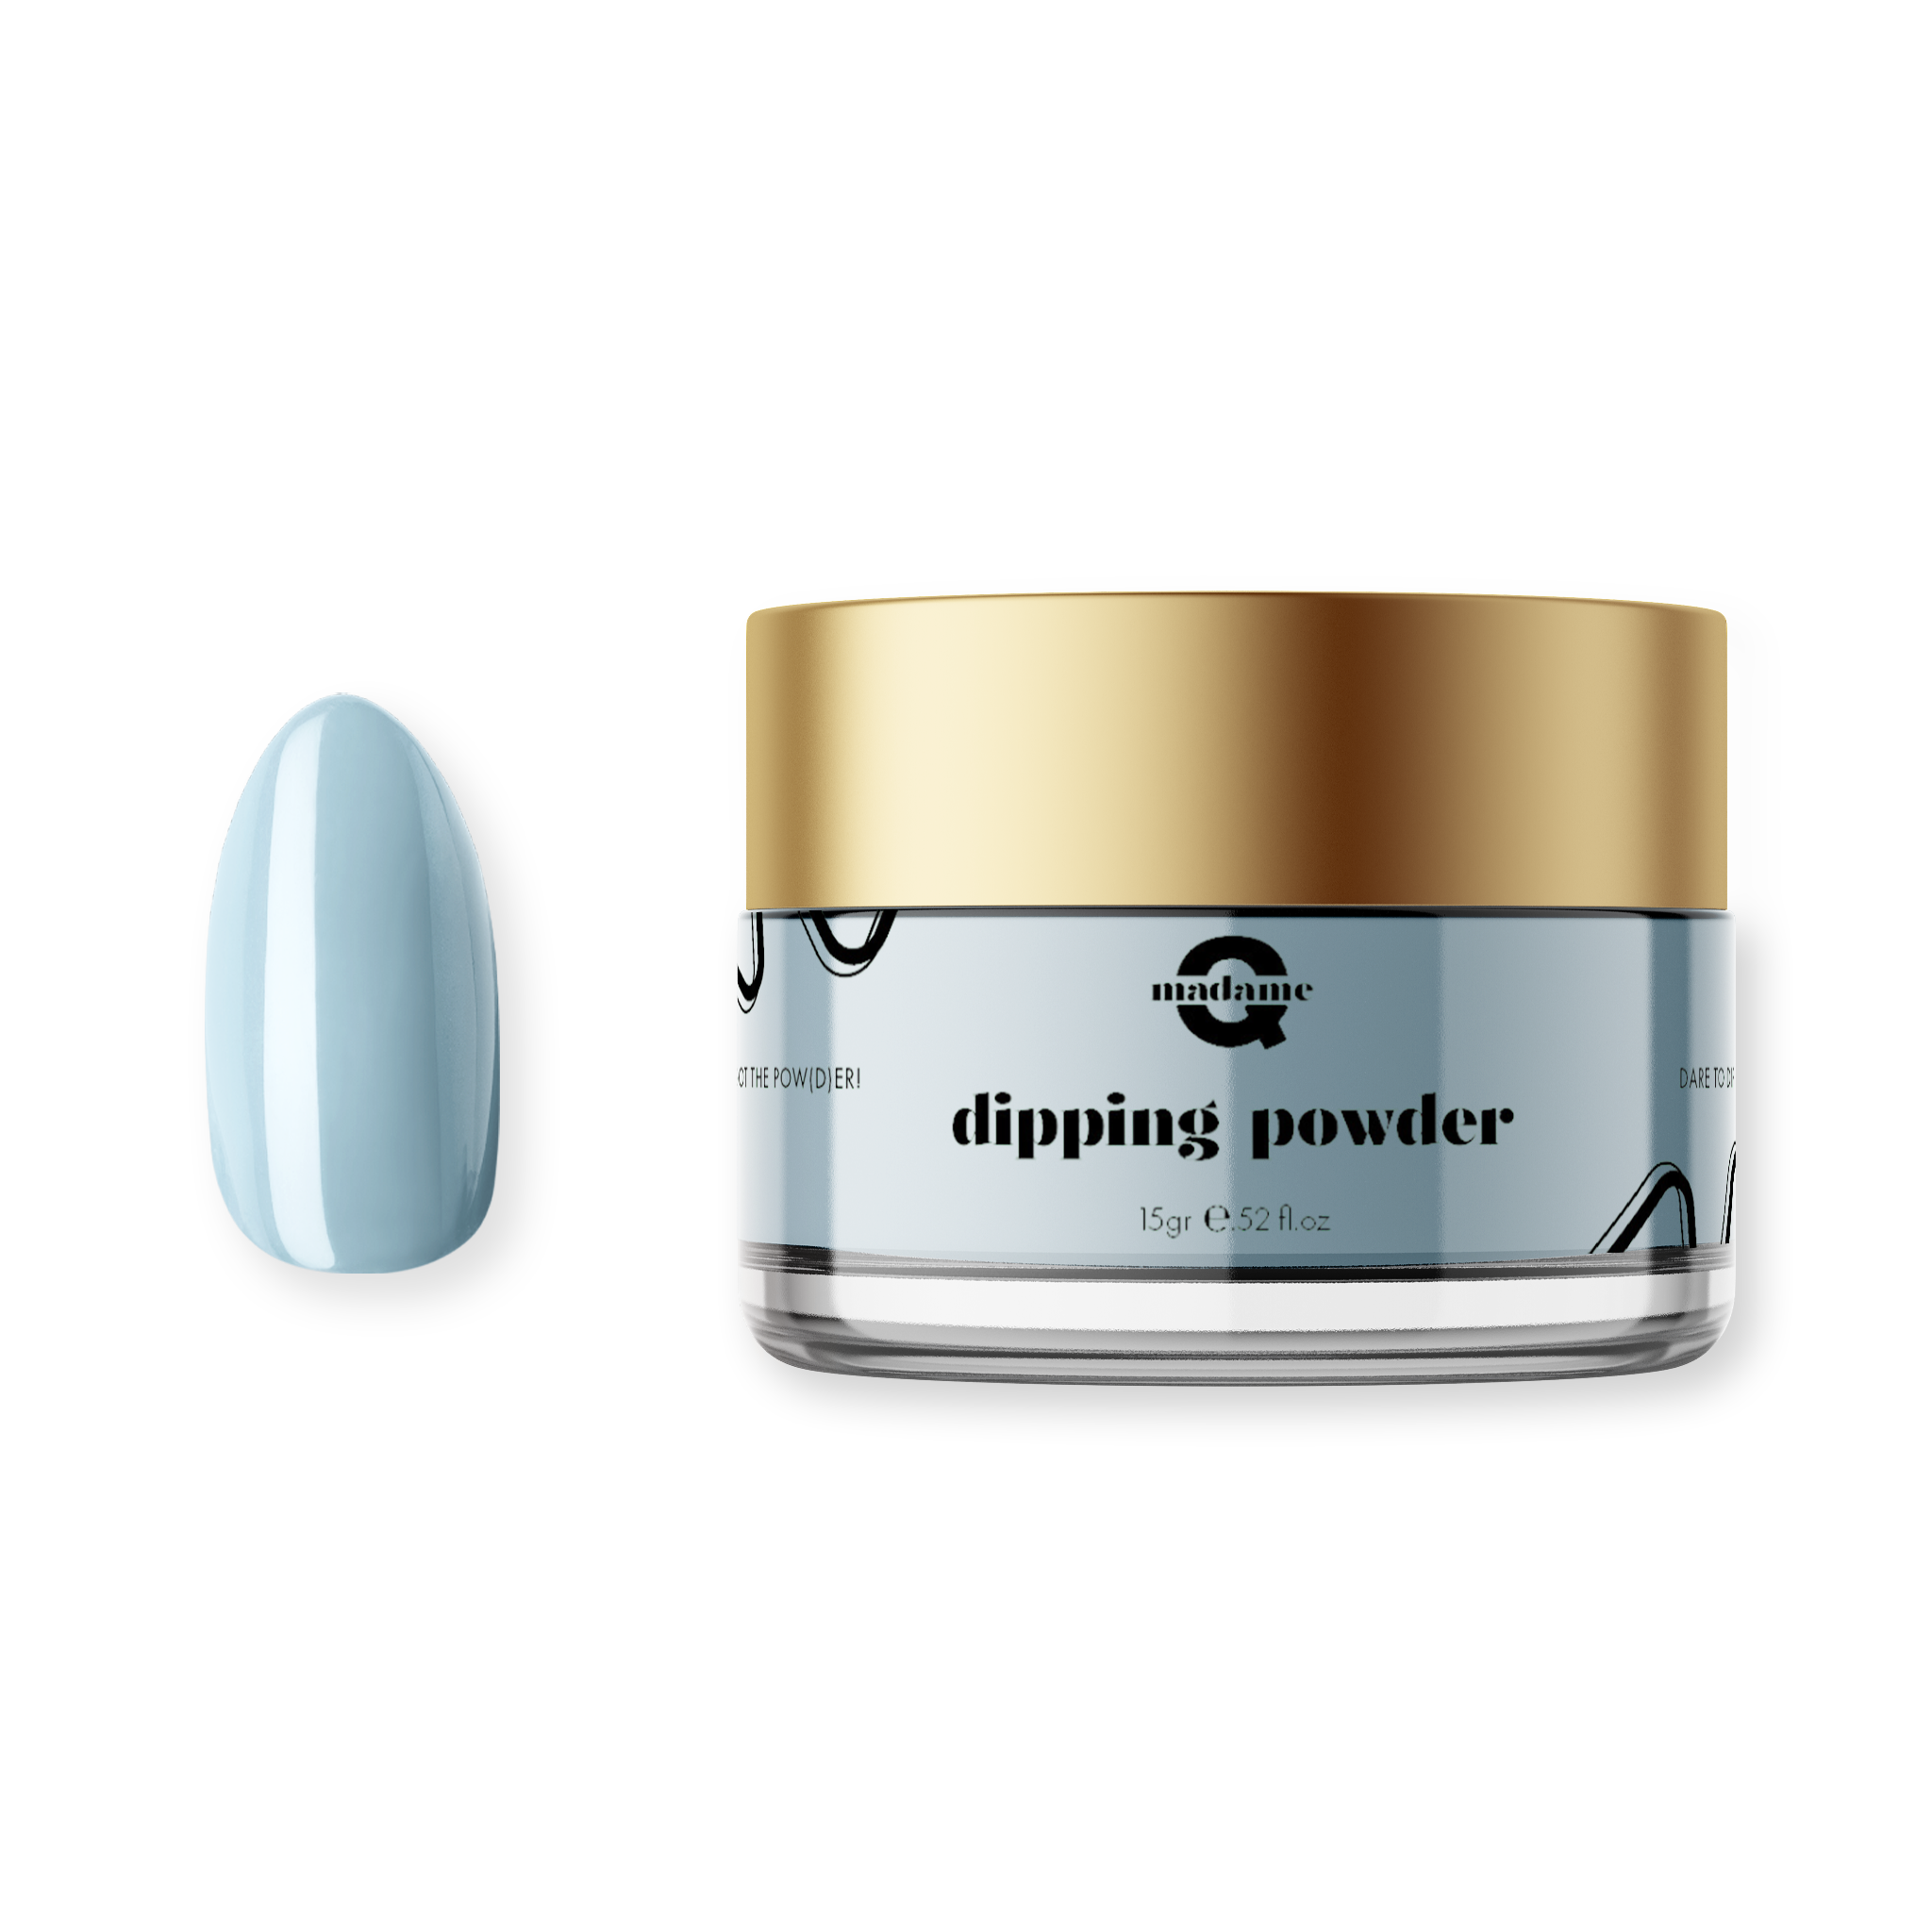
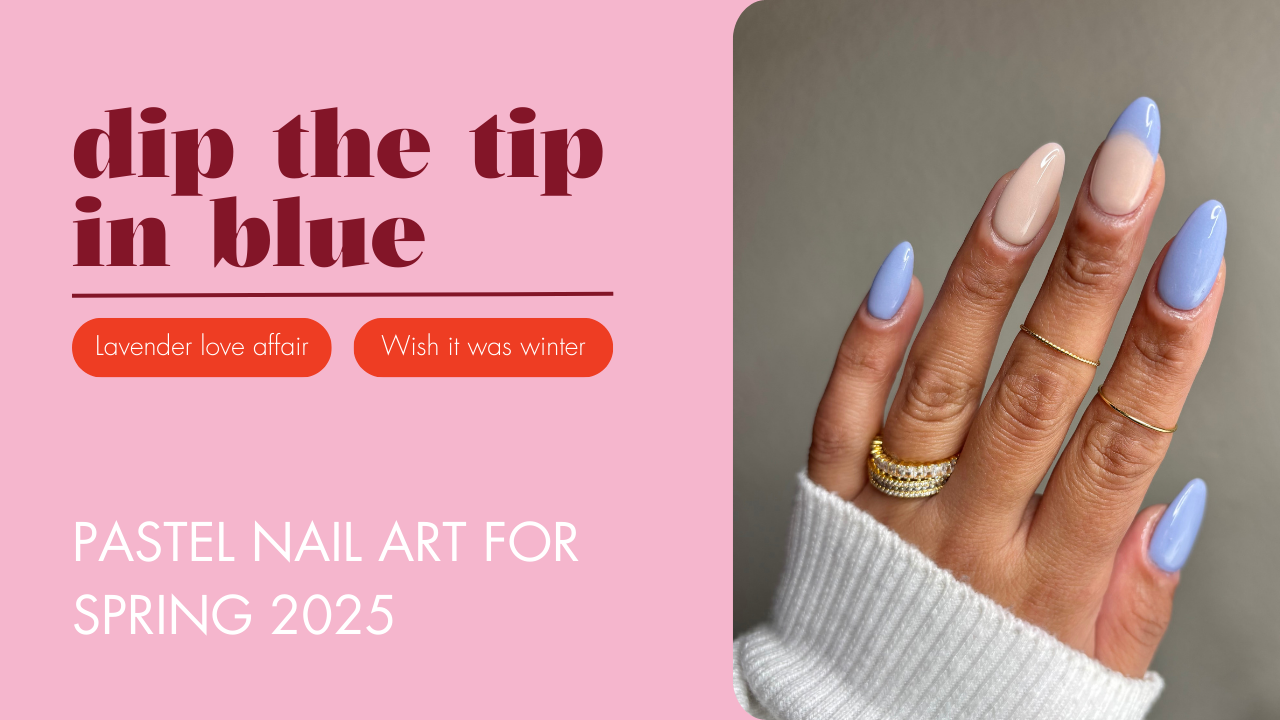
- “Baby Got Blue” Sprinkle: To begin building the ombre effect, lightly sprinkle Baby Got Blue at the tip of your nail, gradually fading the color toward the center. (Use the lid of the jar or a small tray to catch any excess powder.)
- Blend: Tap the side of your nail or use a small brush to gently blend the transition between Lavender Love Affair and Baby Got Blue.
3. INTENSIFY THE OMBRE
-
Reapply Base Coat
Once you’re happy with the initial gradient, apply another thin coat of Base Coat over the entire nail. -
Layer & Blend
- Lavender Love Affair at the Cuticle Area: Lightly dip or sprinkle the powder close to your cuticle, fading toward the center.
- Baby Got Blue at the Tip: Sprinkle more Baby Got Blue onto the tip of your nail, blending into the Lavender near the middle.
- Dust Off: Wait 10 seconds, then remove excess powder with a soft brush.
-
Repeat if Needed
For a bolder color gradient, repeat these steps until you achieve your desired intensity.
4. REFINE AND ACTIVATE
-
Shape & Smooth
- File & Buff: Gently file and buff the surface to achieve a smooth finish and refine your nail shape.
- Brush Away Residue: Use a soft brush or lint-free wipe to clear away any dust.
-
Activator
Apply Activator generously to each nail, ensuring full coverage. Let it dry for at least 90 seconds—this hardens the powder layers.
-
Pro Tip
Before applying the Top Coat, wipe your nails clean with a paper towel to ensure no Activator remains on the surface. This keeps it from mixing with the Top Coat and dulling the shine.
5. SEAL WITH TOP COAT
-
Top Coat Application
Apply two layers of Top Coat, allowing each layer to dry thoroughly. This seals in your ombre design and creates a glossy, salon-quality finish. -
Admire Your Ombre
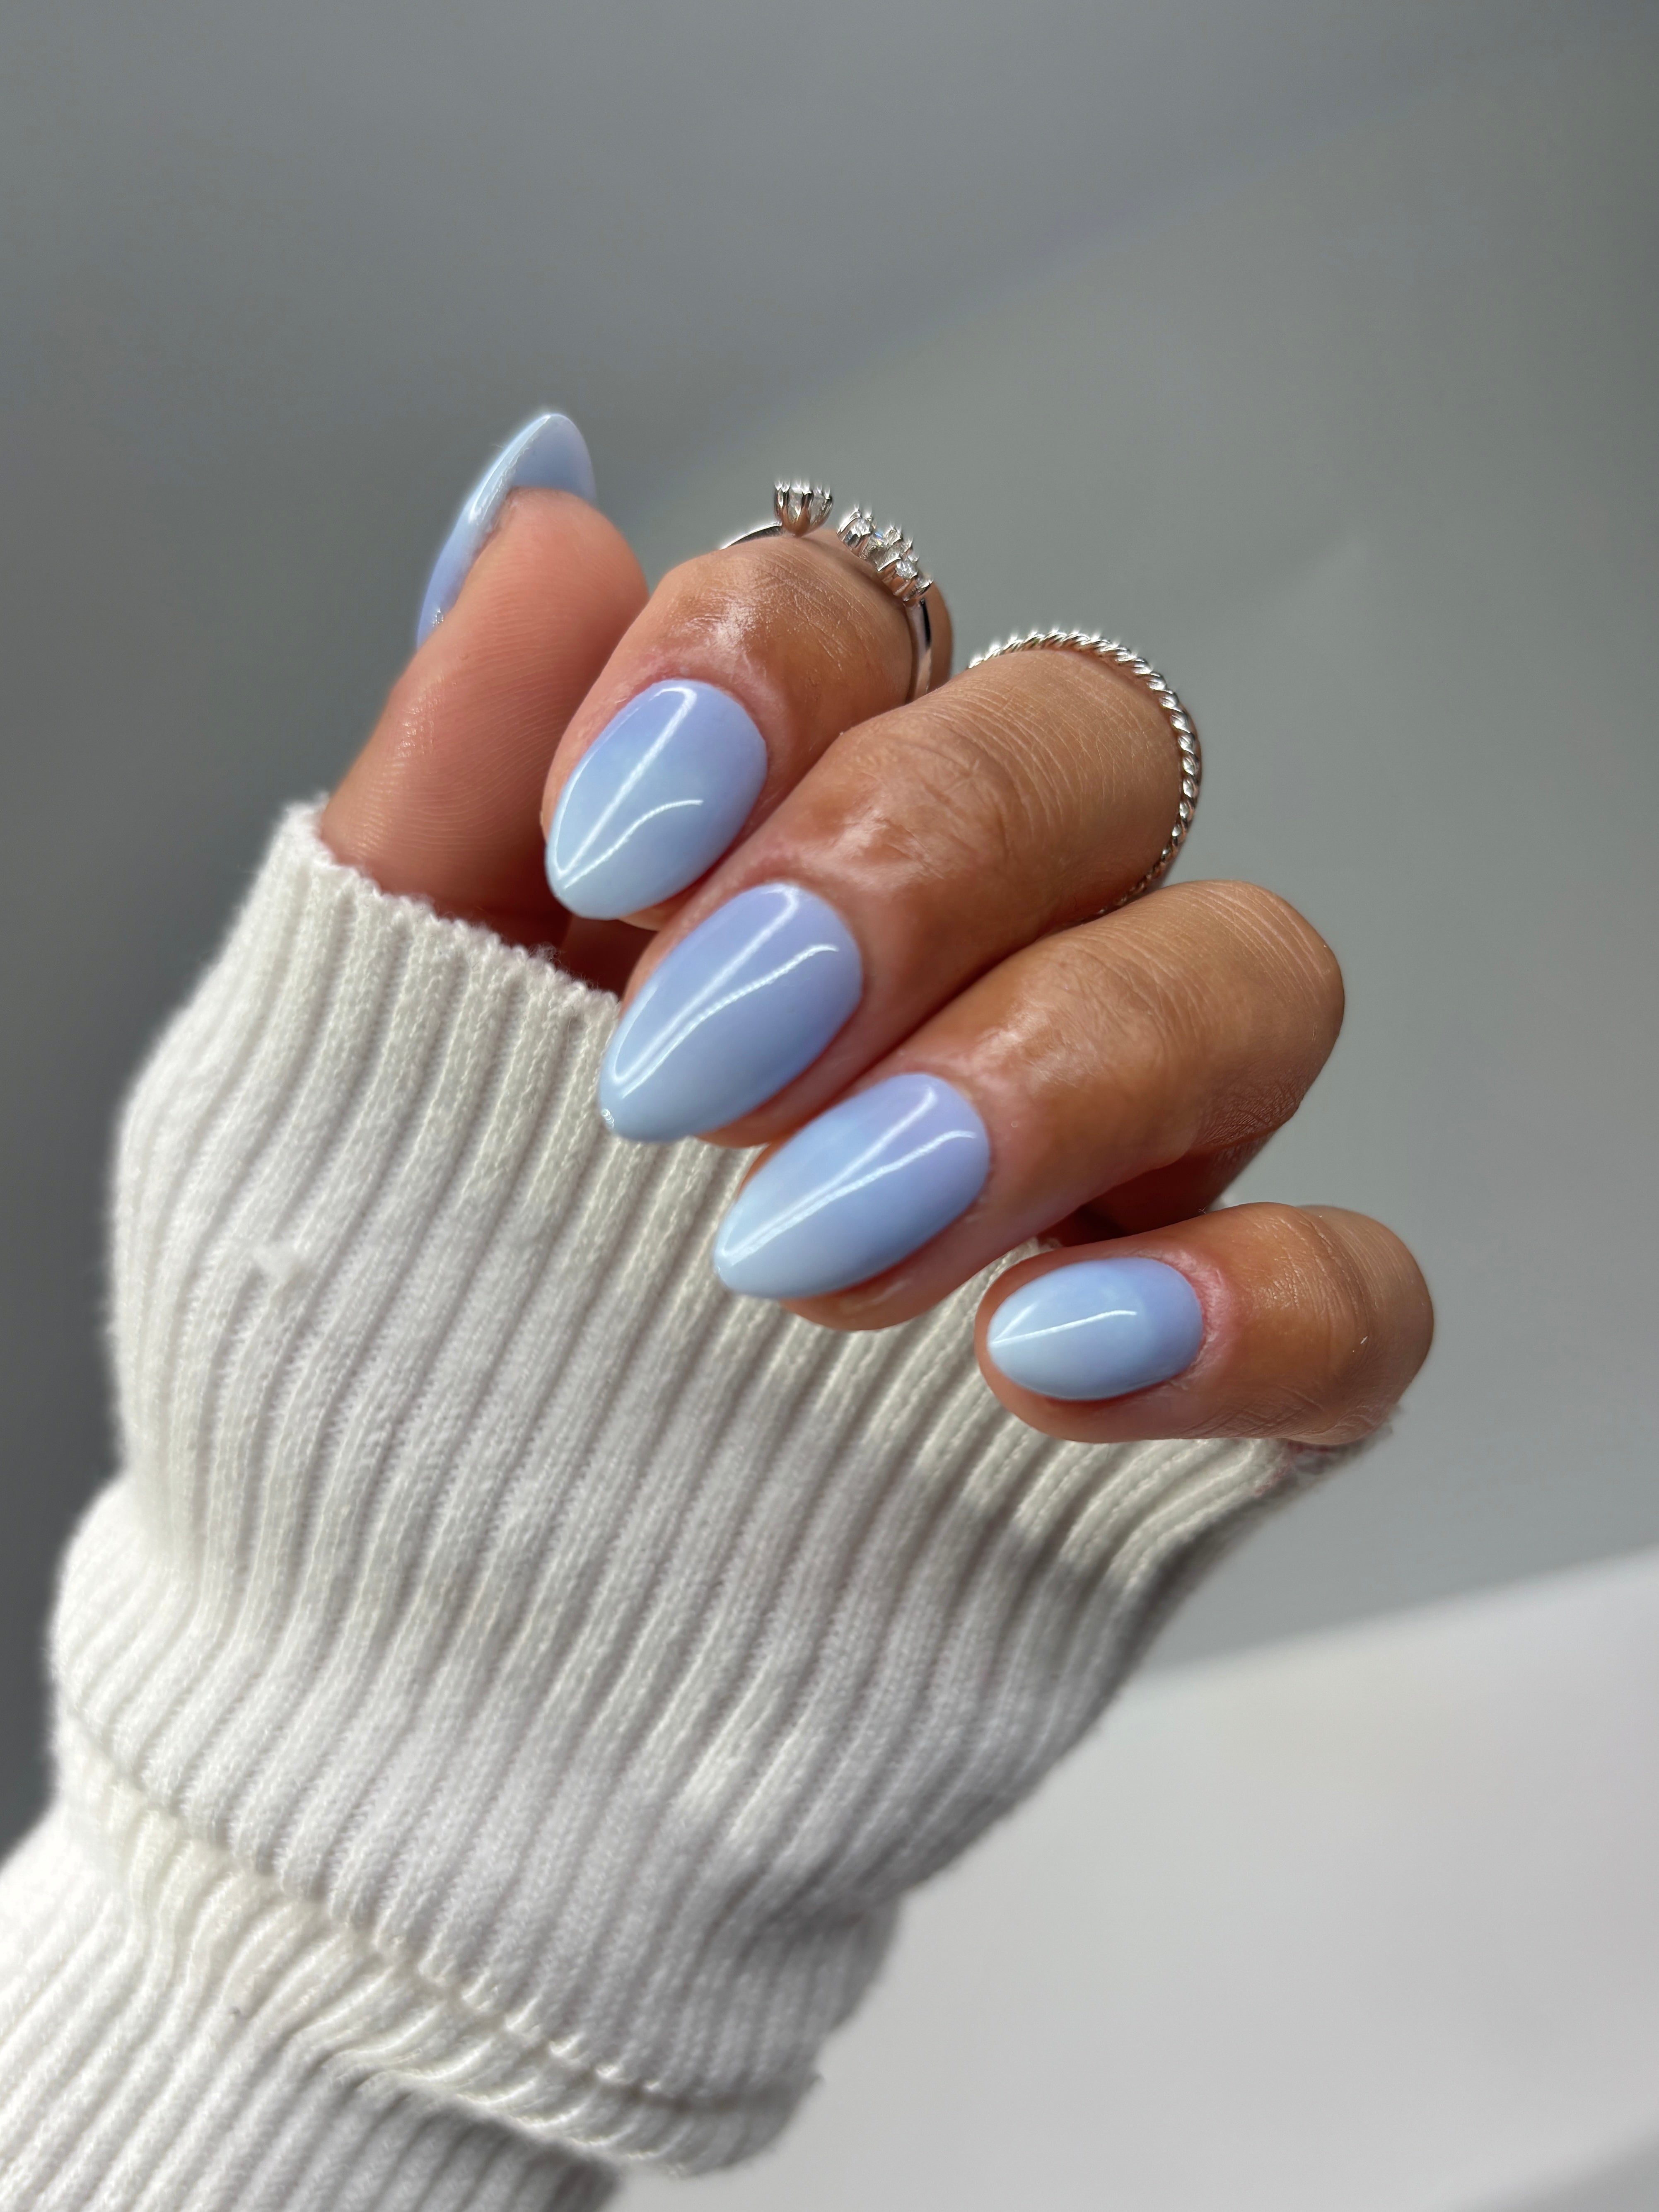
Give your nails a moment to dry. You’ll see how the two shades seamlessly blend into each other, creating an eye-catching gradient effect.
FINAL TOUCHES
- Cuticle Oil: Once your nails are completely dry, massage cuticle oil around the nail bed. This boosts hydration and gives your manicure a polished look.
- Photo Finish: Don’t forget to take a picture! Our Lavender and Blue color combo pops beautifully on camera.


