1. PREP YOUR NAILS
-
Shape & Buff
Use a nail file to achieve your desired nail shape (square, rounded, almond, etc.). Then lightly buff the nail surface to remove any natural shine.
-
Push Back Cuticles
Gently push back your cuticles with a cuticle pusher. This ensures maximum product adhesion and a clean, professional look.
-
Clean & Dehydrate
Apply your Nail Prep product to remove oils and debris. This step sets the stage for a smooth, long-lasting manicure.
- Pro Tip: Proper nail prep is essential—taking these extra steps now helps prevent lifting and chipping later.
2. BUILD THE FRENCH TIP
-
Base Coat
Apply a thin, even layer of Base Coat, carefully avoiding the cuticle area.
-
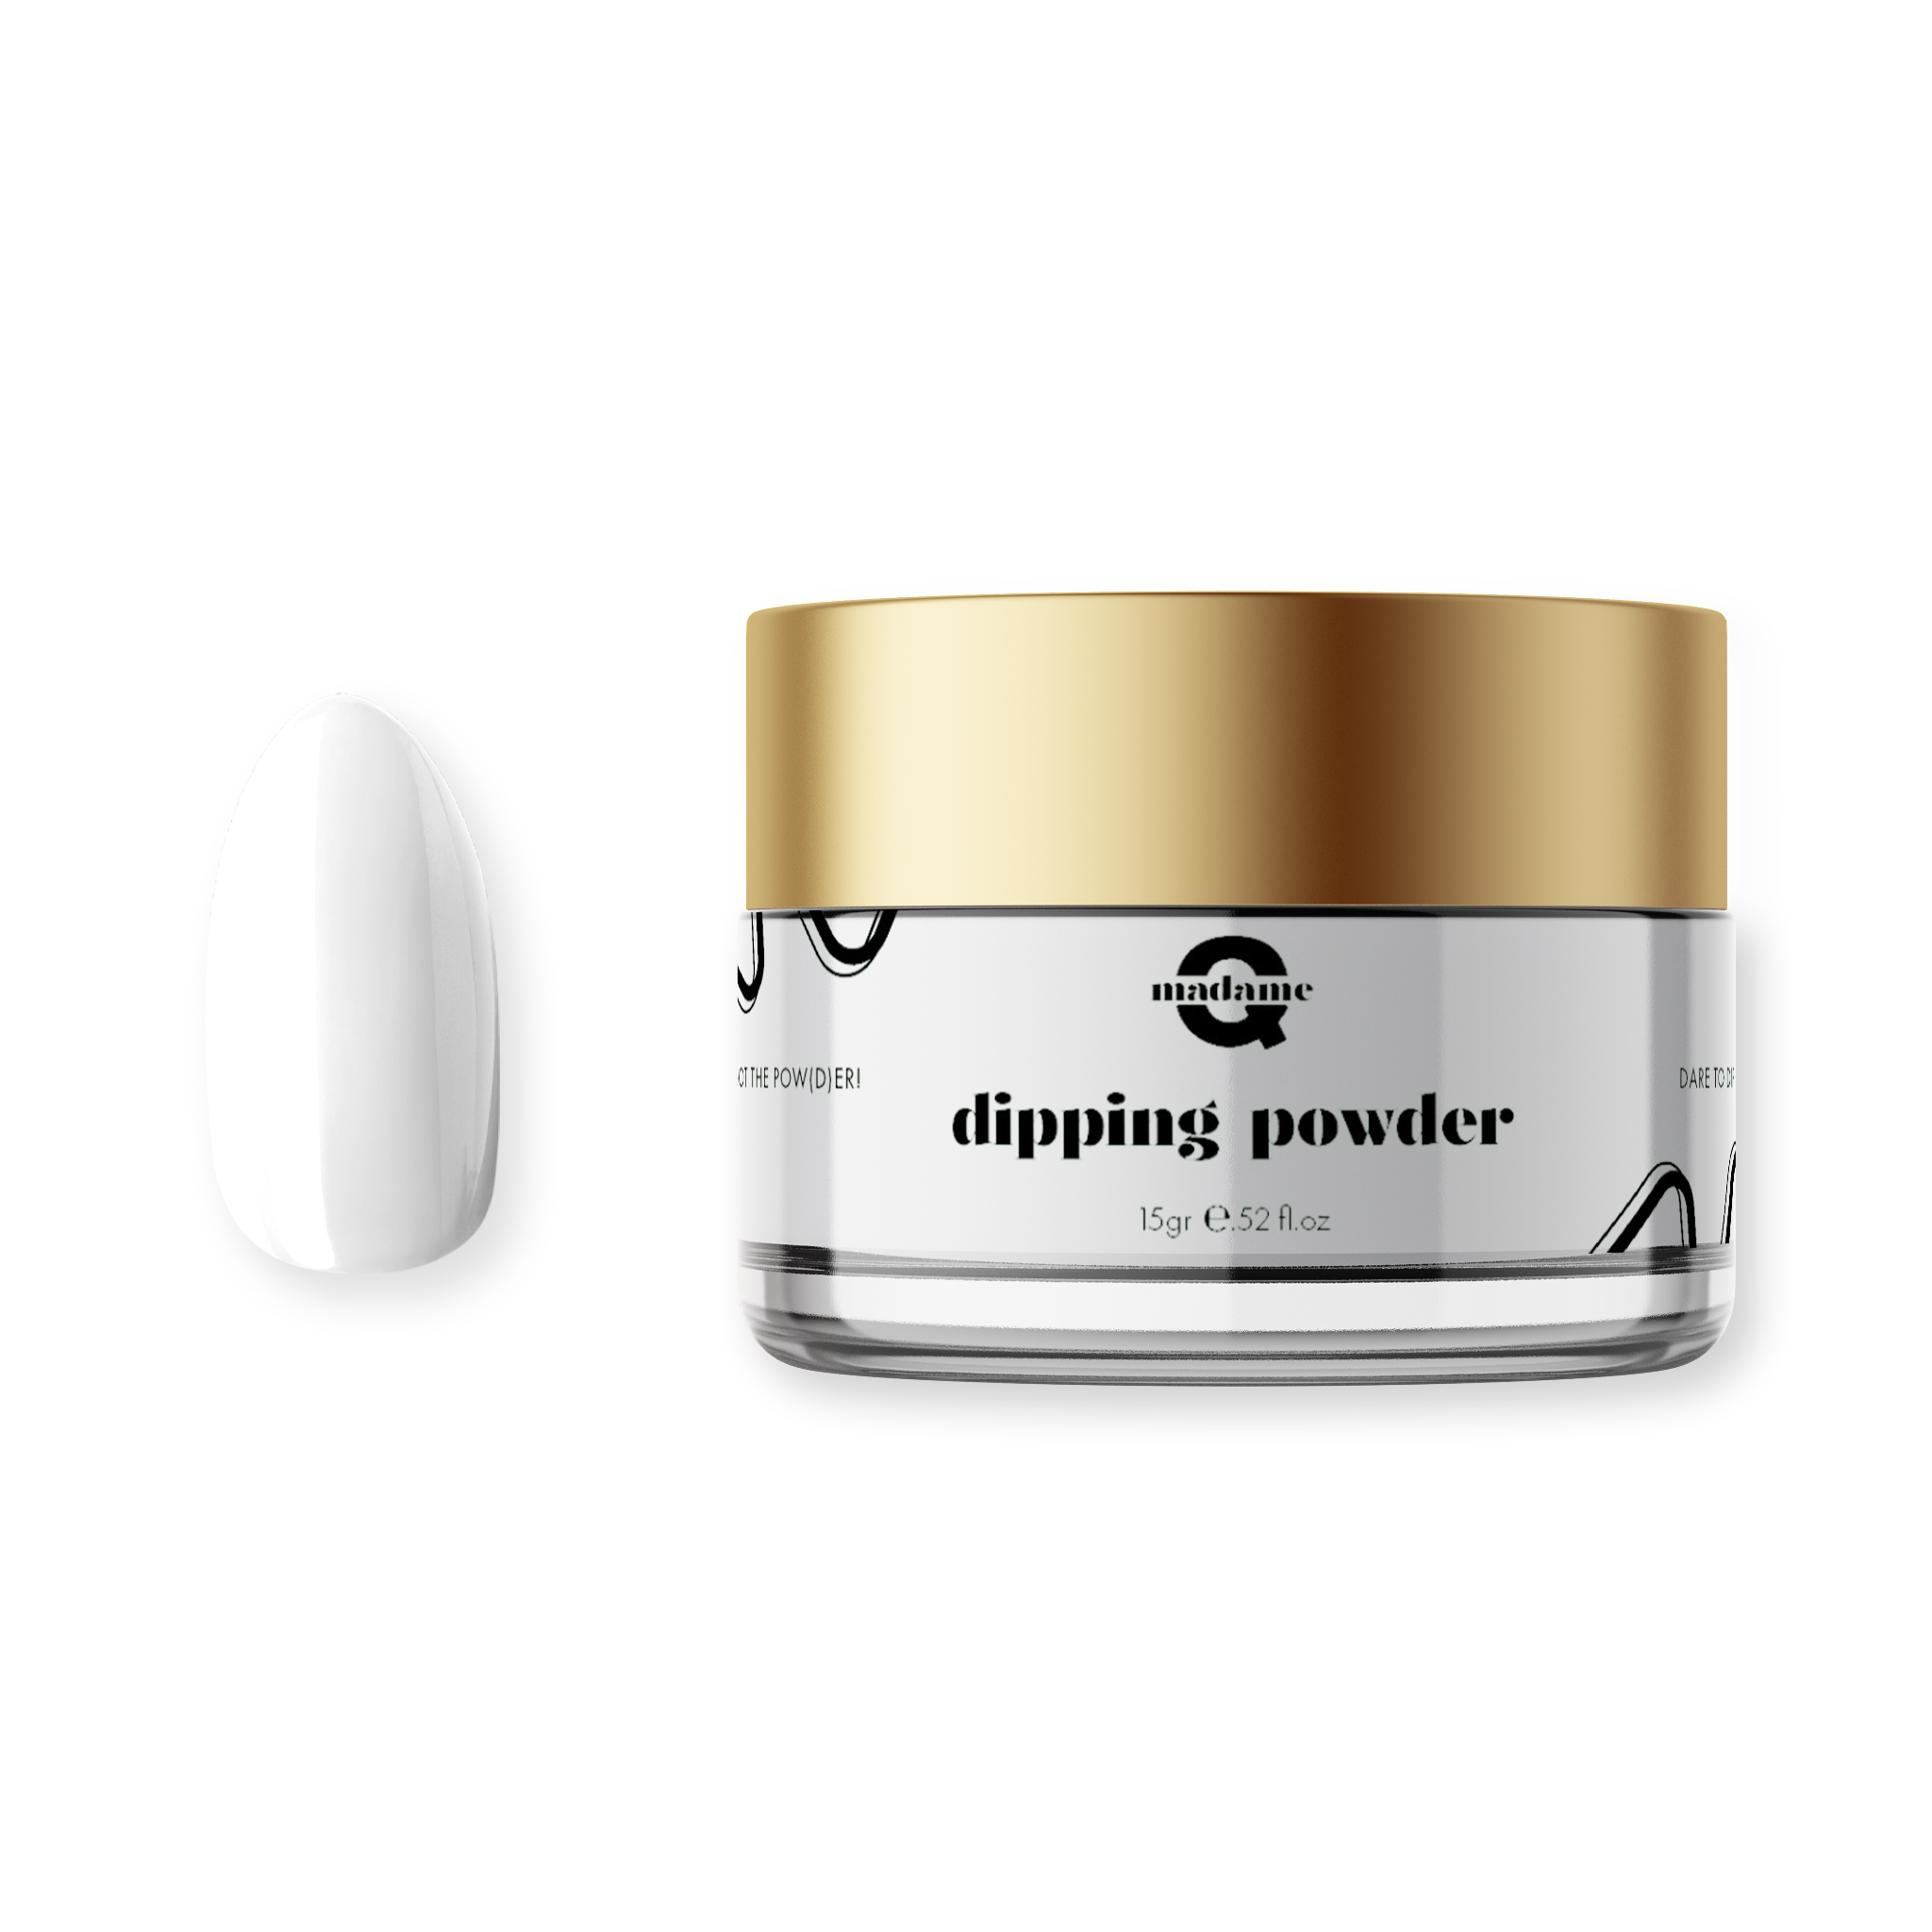
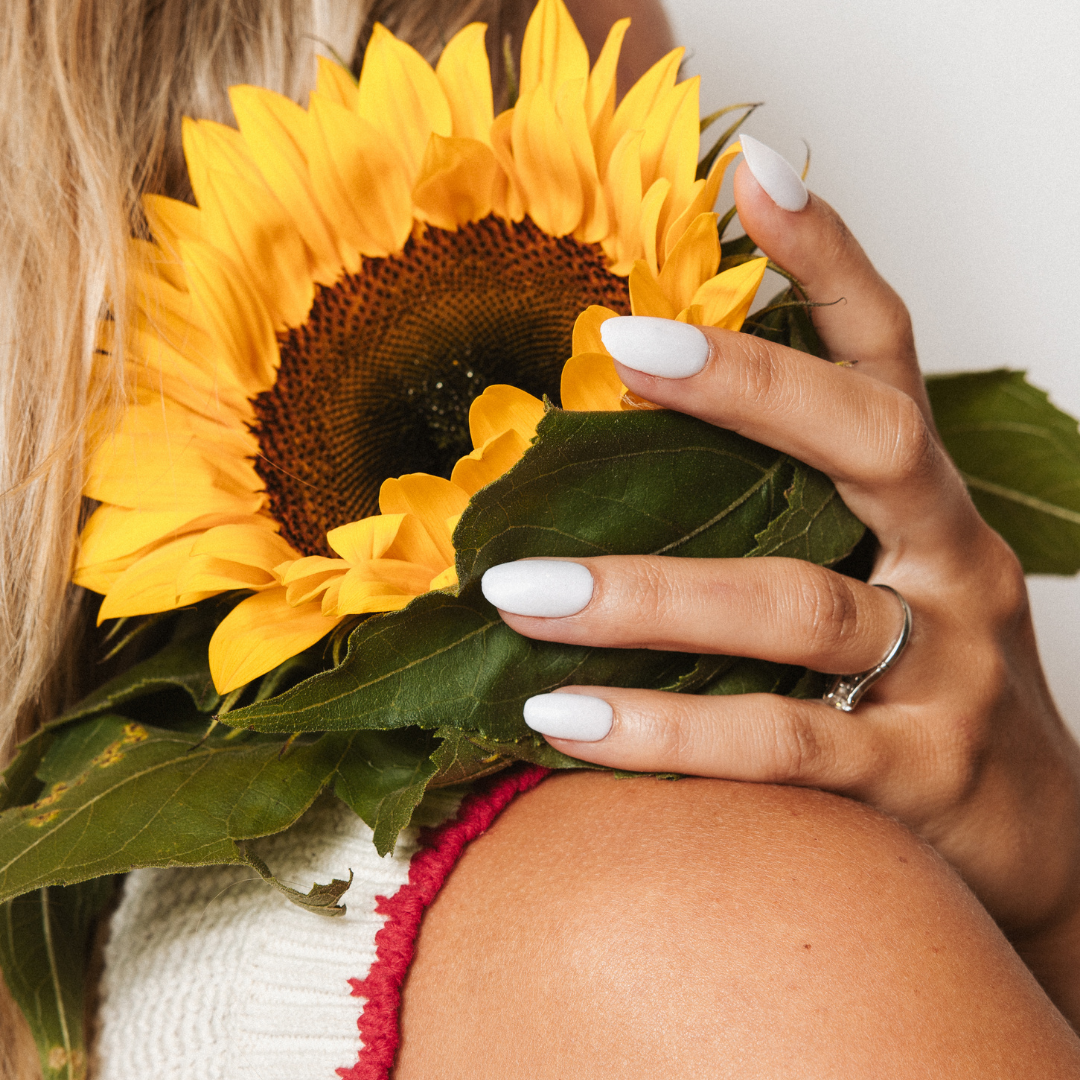
Dip in “Blank Canvas”
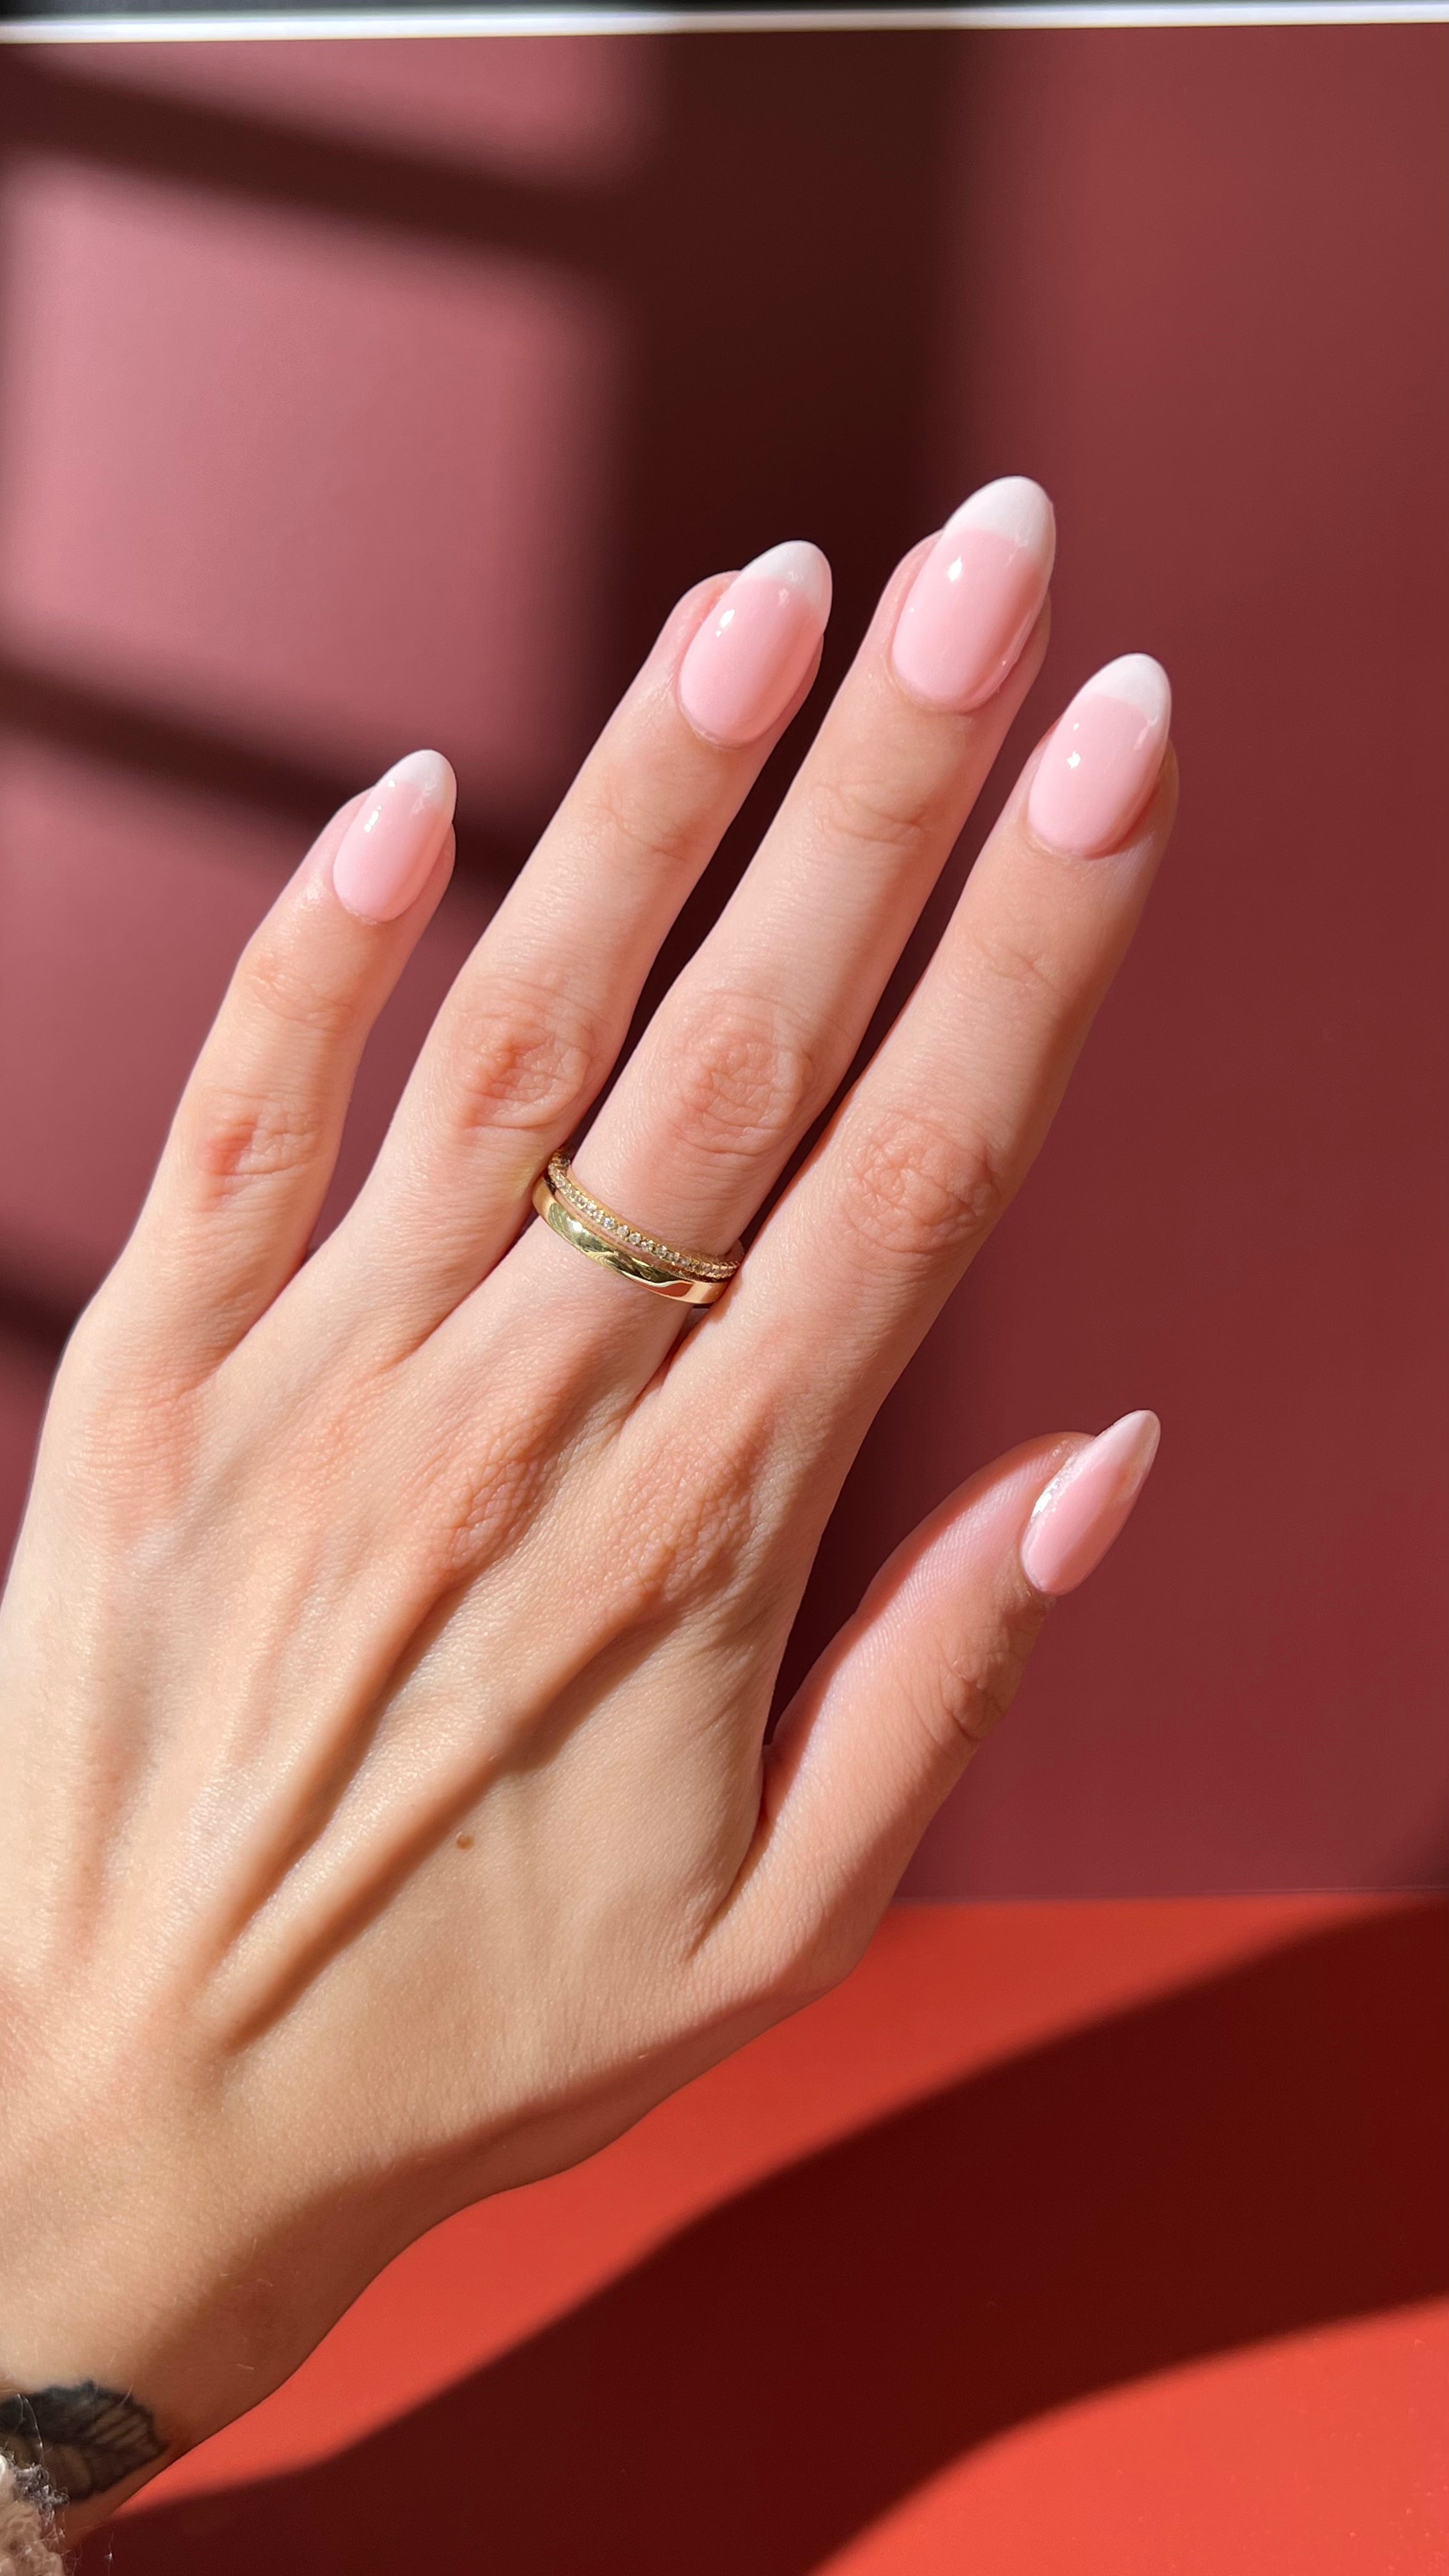
Dip just the tip of your finger (or nail) into Blank Canvas to the point where you want the French tip to end.
-
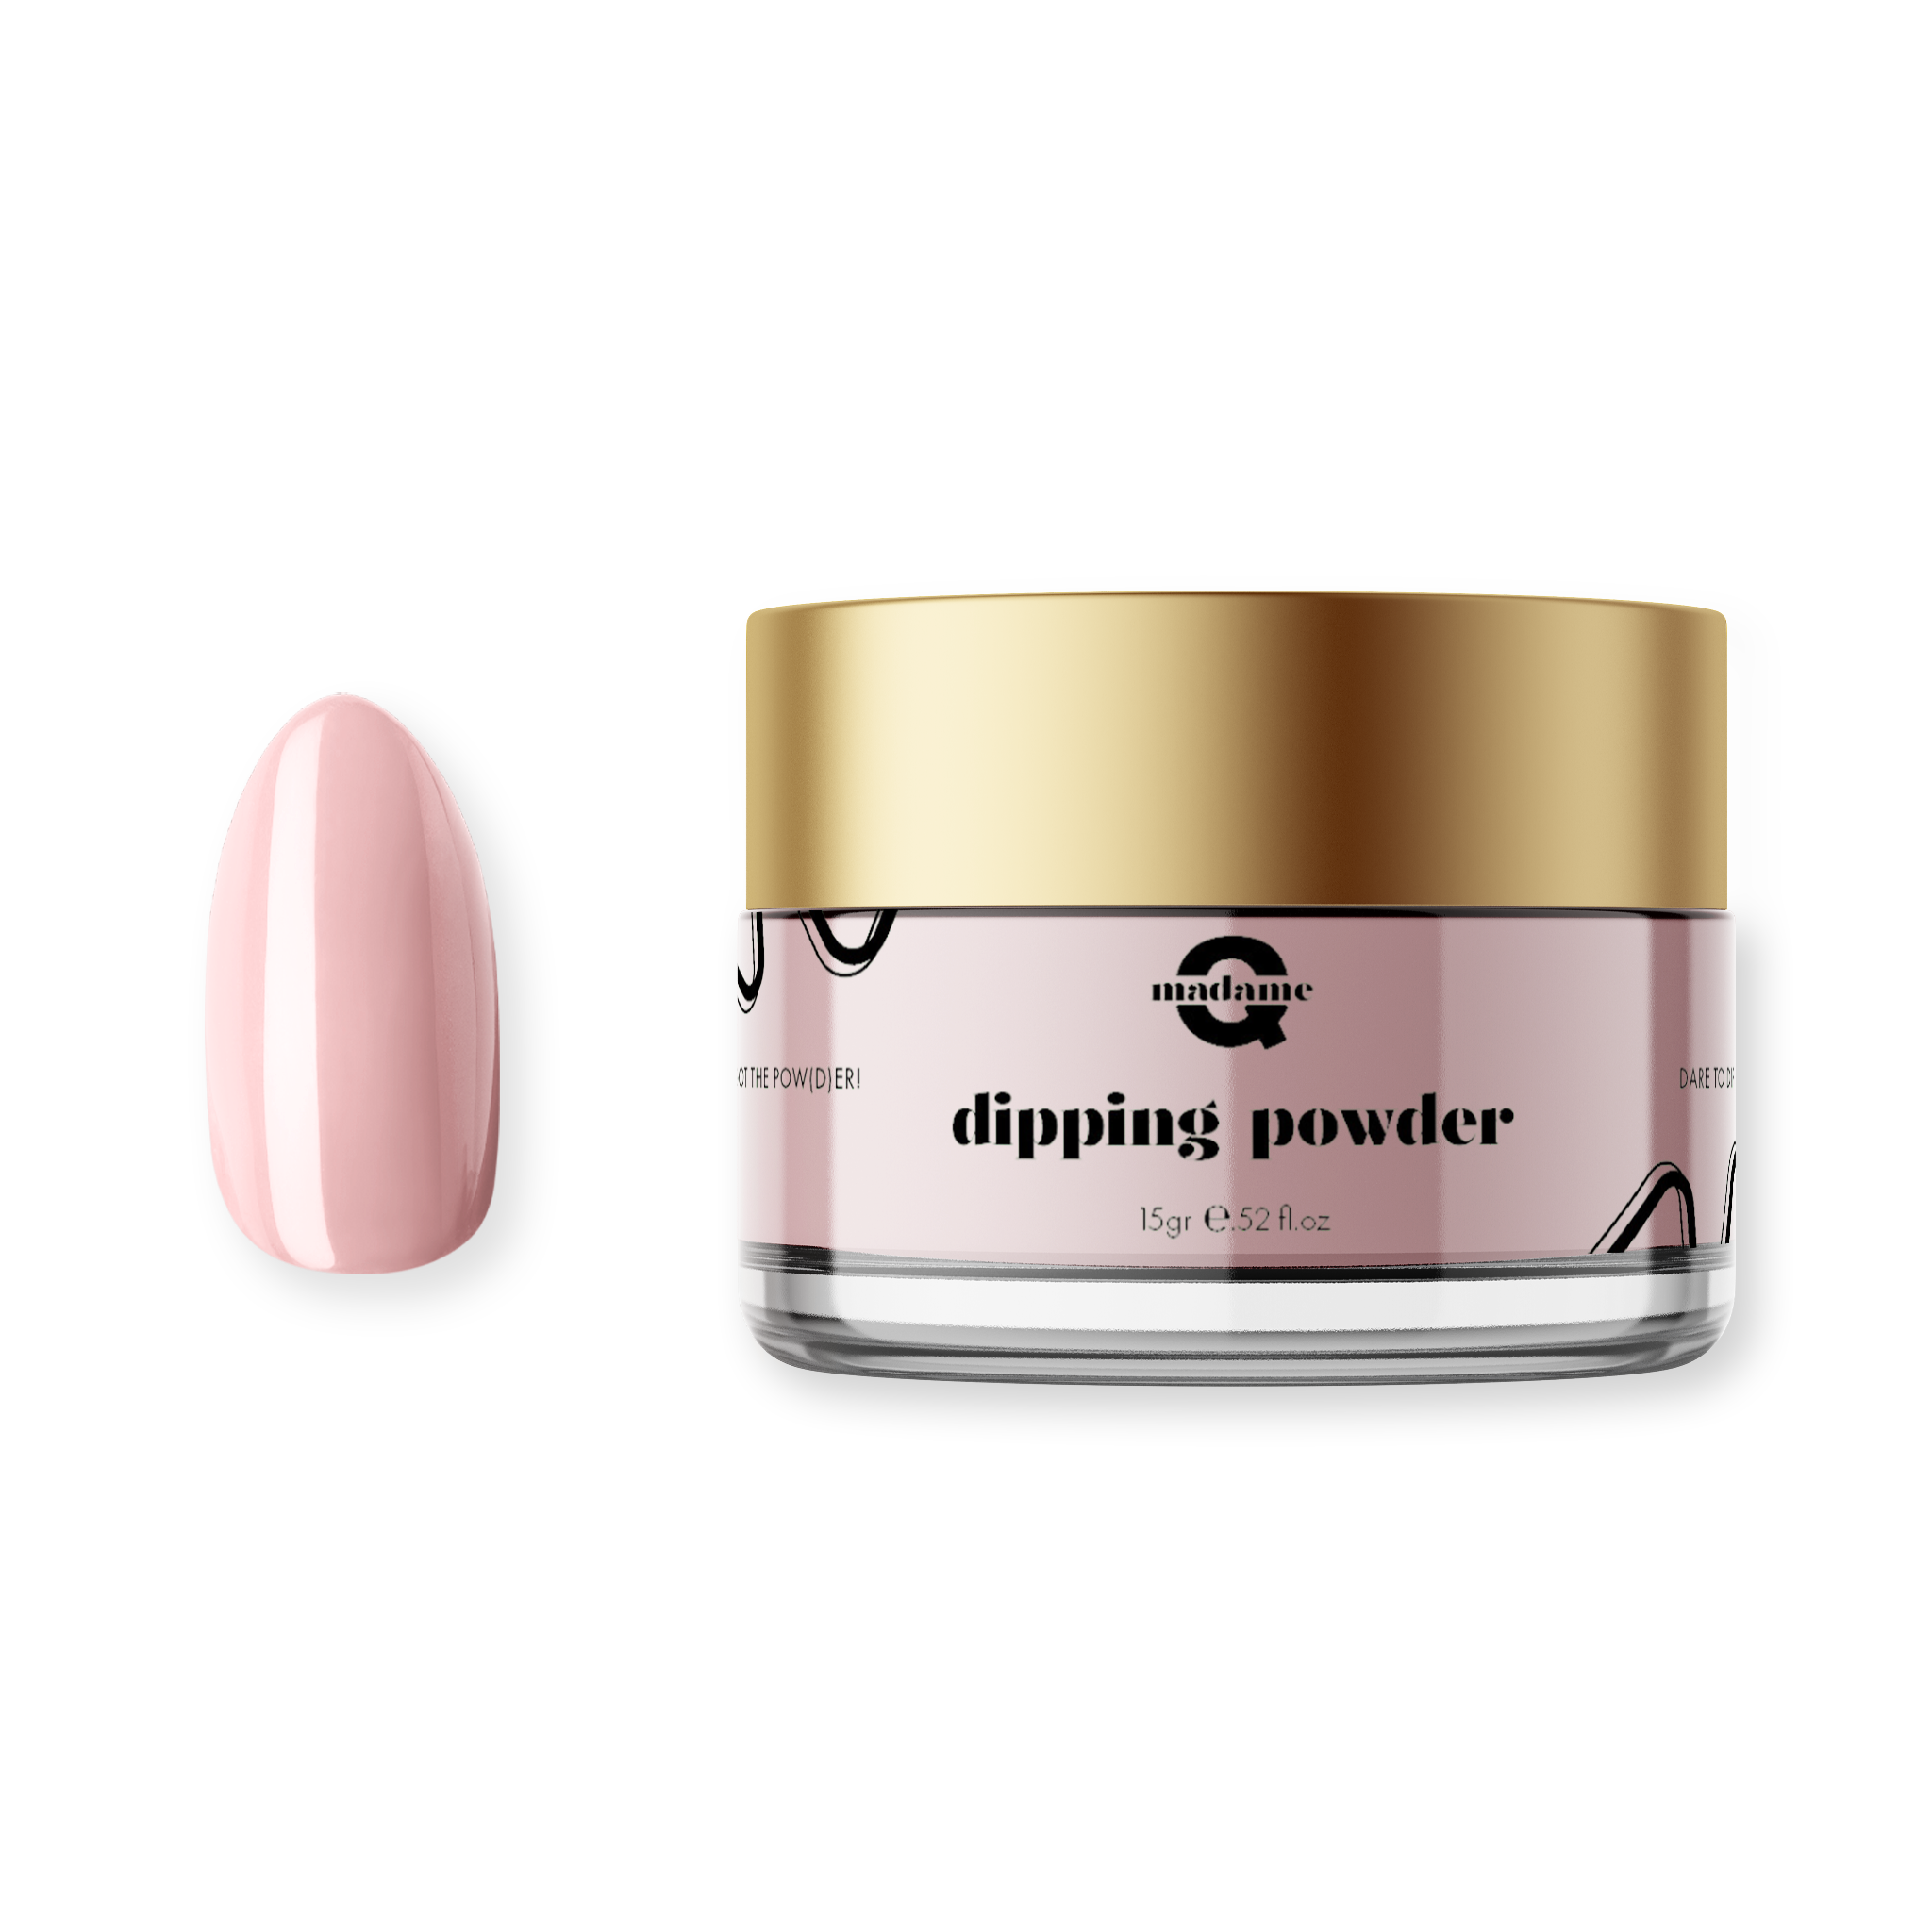
Apply “Pynk Sphynx”
Sprinkle Pynk Sphynx onto the rest of the nail. Use the jar lid (or a small tray) to catch any excess powder.
-
Set & Dust Off
Wait at least 10 seconds for the powders to set. Then gently remove any excess with your powder brush.
3. INTENSIFY THE COLOR
- To achieve a bolder or more vibrant look, simply repeat the entire process in Step 2. This adds an extra layer of color for a richer result.
4. REFINE AND ACTIVATE
-
Shape & Smooth
File the nail until the surface is completely smooth. Follow up with the powder brush to remove any residue. -
Activator
Apply enough Activator to cover the entire nail. Let it dry for at least 90 seconds so the powder hardens properly.
-
Pro Tip
Wipe your nail clean with a paper towel to ensure there’s no leftover Activator before you apply the Top Coat. This prevents the Activator from mixing with and dulling your Top Coat.
5. SEAL WITH TOP COAT
-
Two Layers for Extra Shine
Apply two layers of Top Coat, allowing each layer to fully dry. This step gives your manicure that glossy, salon-quality finish.
6. FINAL TOUCHES
-
Vitamin Oil
Once everything is completely dry, massage a bit of vitamin oil around your nails for added nourishment and a professional final touch. -
Show It Off
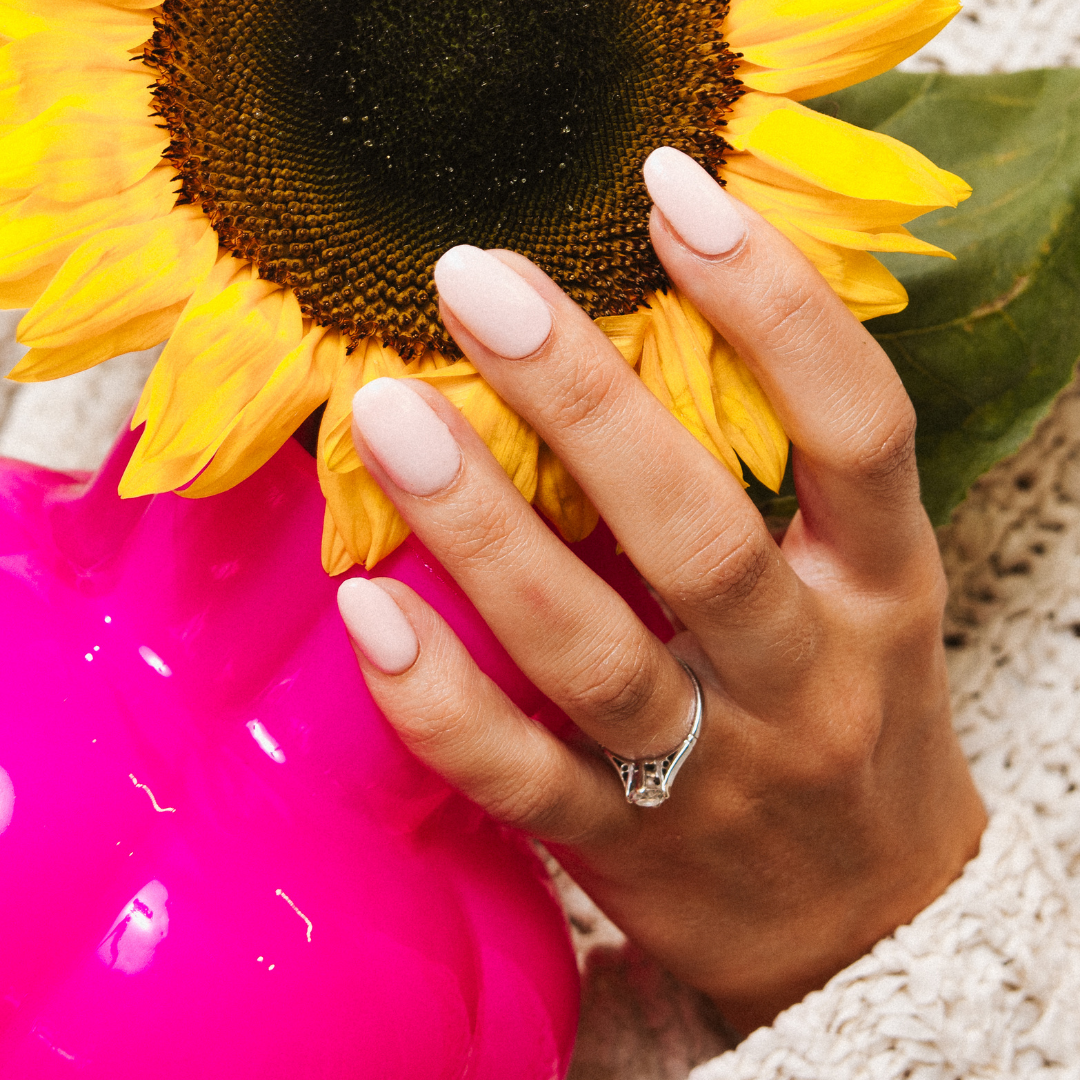
Your elegant French manicure is now ready for its close-up!


